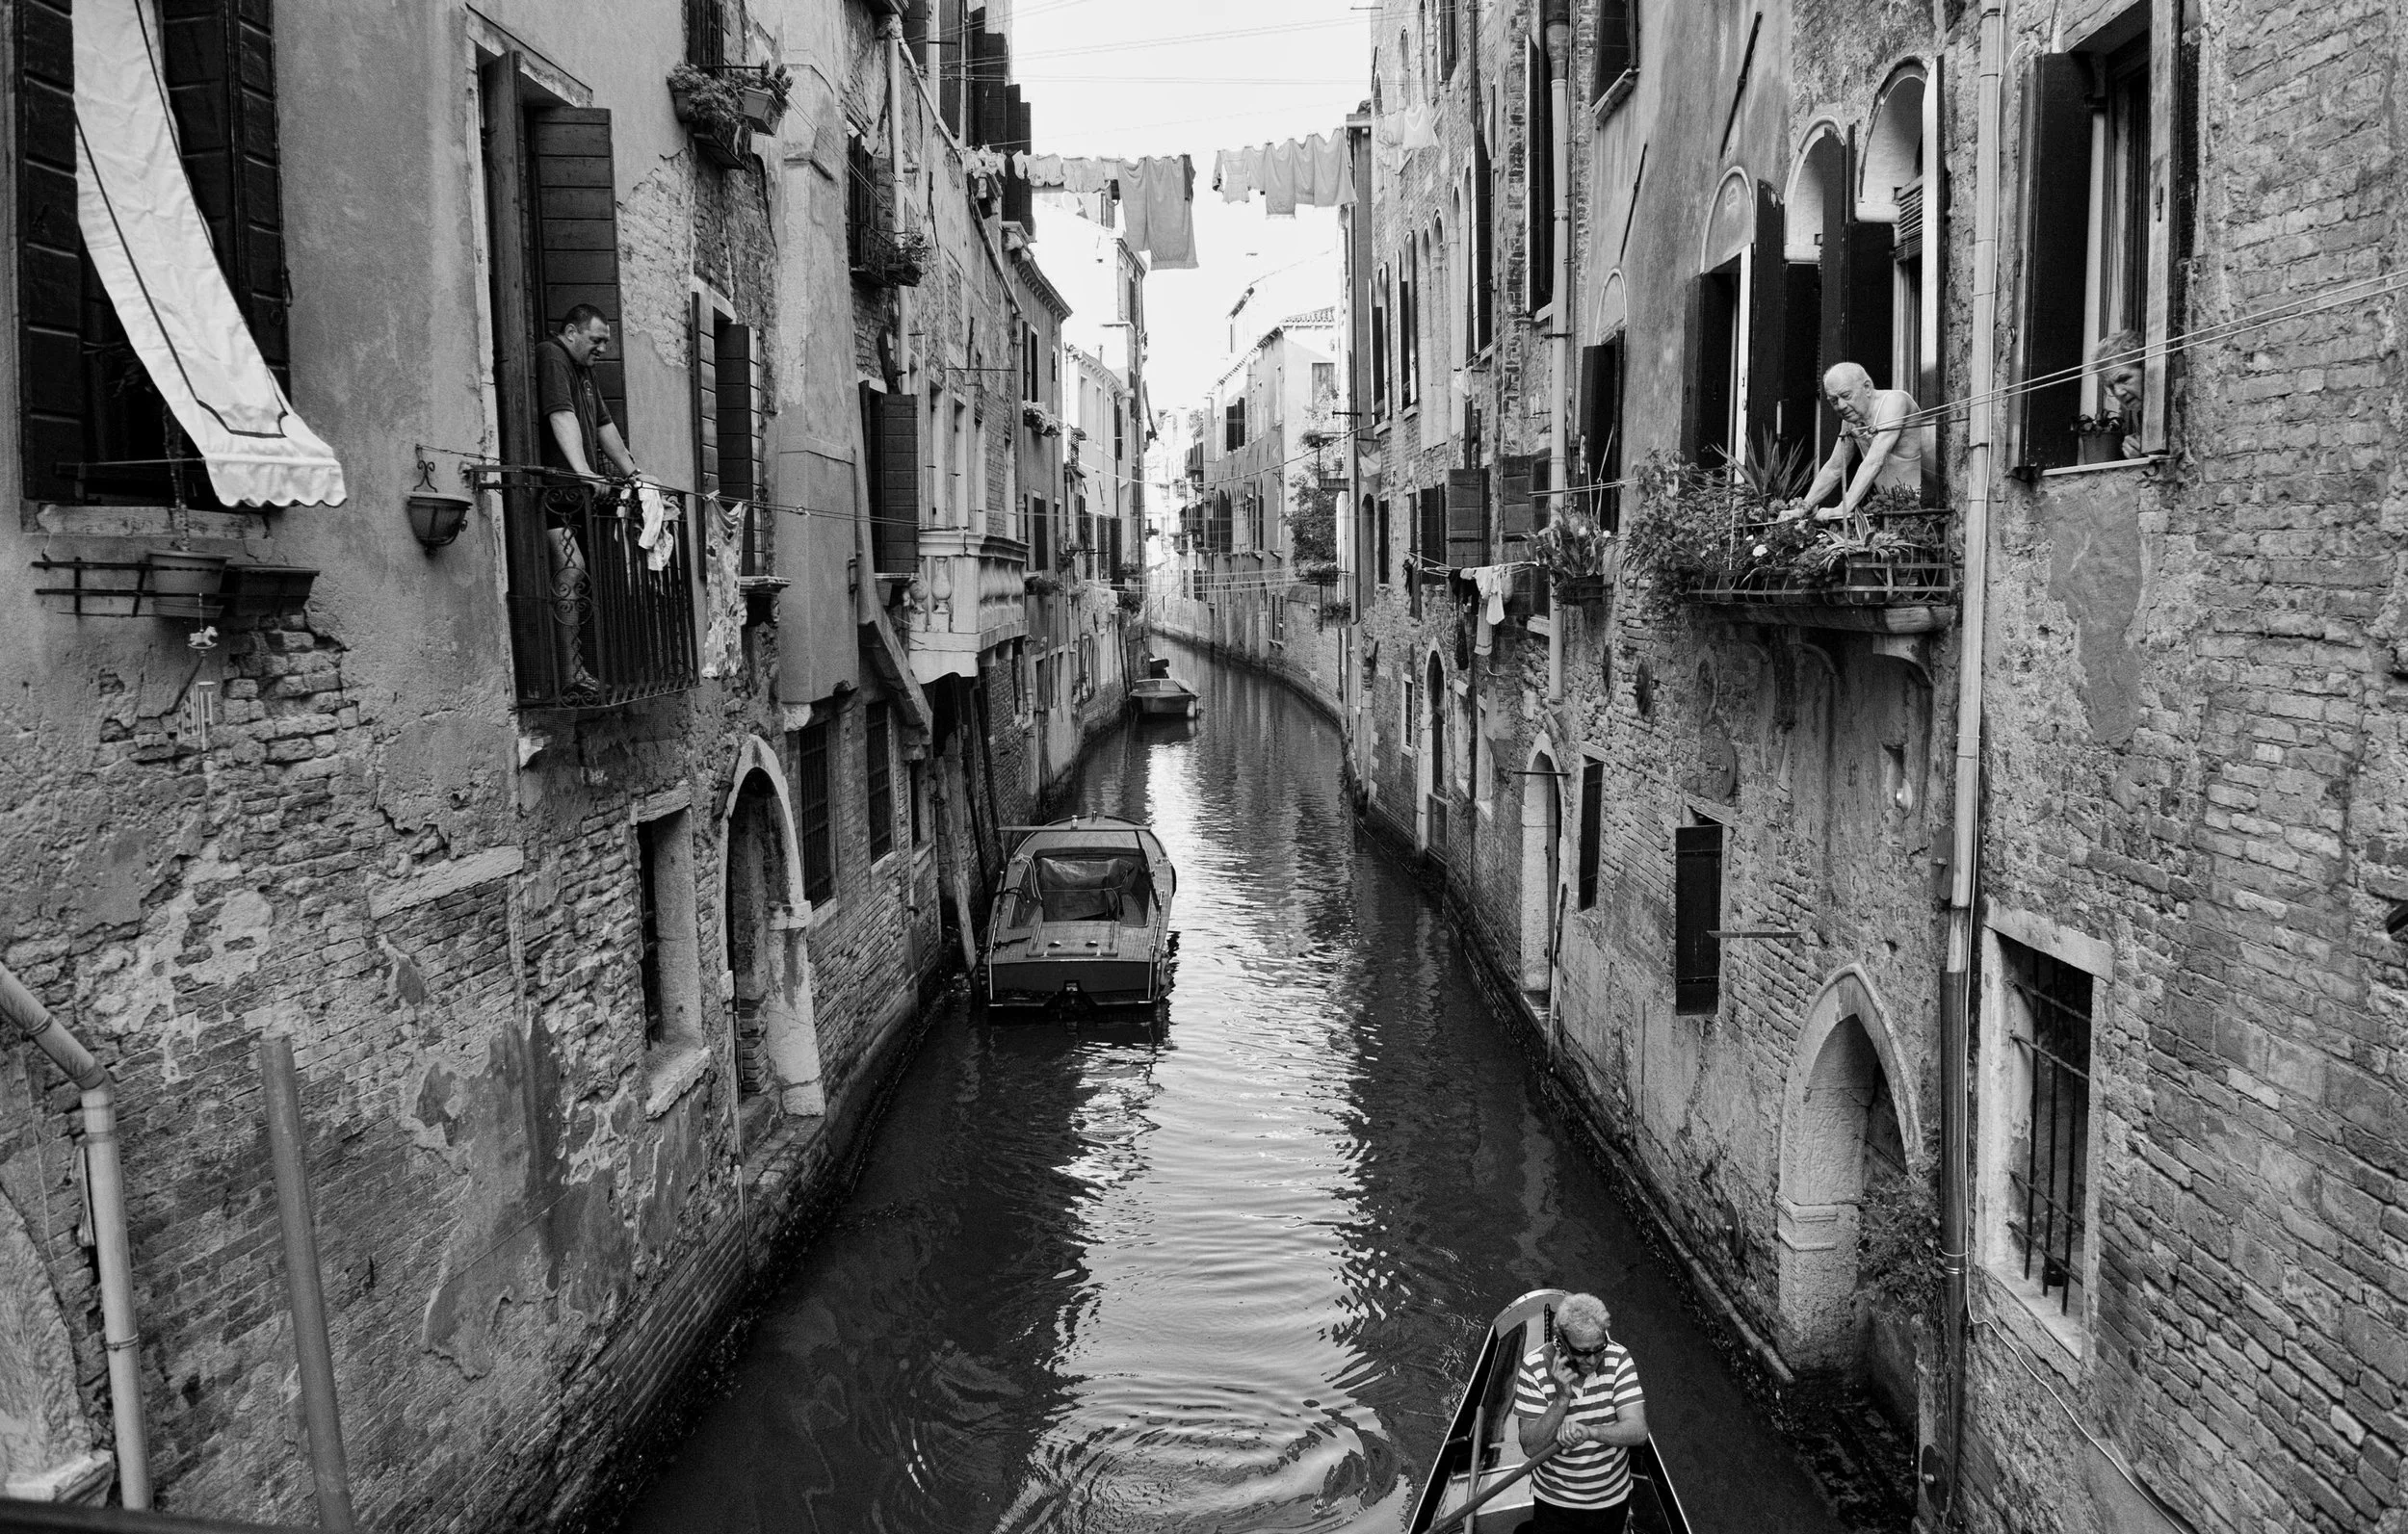
Fuji X100s for street photography

I am often asked what settings I use for street photography. First, let’s make sure you have everything you will need, extra batteries and extra memory cards. A fast memory card is essential when shooting raw. ...do not forget your camera! (Marco Secchi)

Here are my settings for street shooting: Auto ISO: 200-3200 Min. Shutter speed limit: 1/125 Focus AF-C mode Drive Mode S or C: most of the time I am in s mode, c-mode if the situation really calls for it. While in AF-C mode , always awake/never sleep doesn’t work, keep half pressing the shutter from time to time, especially when you spot a potential shot, make sure the camera is not asleep Shutter priority at 1/250 or higher in regular light Optical Hybrid finder vs EVF: depending on the scene, if it is a context or overview shot, OHVF works, however, I found the EVF preferable for precise positioning of the af point since there is no time to reframe/refocus. Develop a solid grip on your camera, experiment, strap around the neck or wrist strap. Learn to change +- dial with out looking at your camera, the same goes for shutter speed, keep your eyes on the street.

Use your x100s a lot, that’s it!

Weston Master III Lightmeter

Over many years, professional photographers the world over have user Weston exposure meters. Why? Because they fulfill the professional's needs. Extremely accurate in all lighting situations, rugged, generally no reliance on batteries. IMG_1650

The epitome of the selenium cell meter is the Weston Master, which has a long and complicated history, not least because there were both US-built and UK-built versions: the UK company started as a subsidiary of the US-based company (which was founded by an Englishman) and became 51% UK owned (as Sangamo Weston) in 1936.

The Weston Master Universal was introduced in 1939 and remained in production in the UK until about 1950, though the Weston Master II was introduced in the United States in 1945/6. The Weston Master III appeared in 1956; the Weston Master IV in 1965; the Weston Master V in 1967; and the Euro-Master in 1970. Even after Weston lost interest, the Euro-Master was manufactured by Kilbride Instruments in Scotland from 1980 to 84 and then as the Euro-Master II by Megatron in London from 1984 to 2010.

It works as follows: moving the small tab that sticks out from the silver dial adjusts the film speed setting which can be read though the small opening in the red dial. Then take a reading by aiming the meter cell on the bottom of the meter at the subject. If the light levels are high, leave the perforated cover over the selenium cell in place; if the the light is dim, then open the perforated cover. The meter needle will point to a number on the meter scale. The range of numbers for bright light is 25 to 1600 and for low light it goes from .2 to 50. Use the turned up tabs on the black wheel to aim the large silver arrow at the corresonding number on the outermost part of the dial. You can then read all the correct exposure combinations off the silver (shutter speeds) and black (f stops) dials. In other words, a shutter speed that lines up with an adjacent f stop should provide the right exposure.

Manual is here